
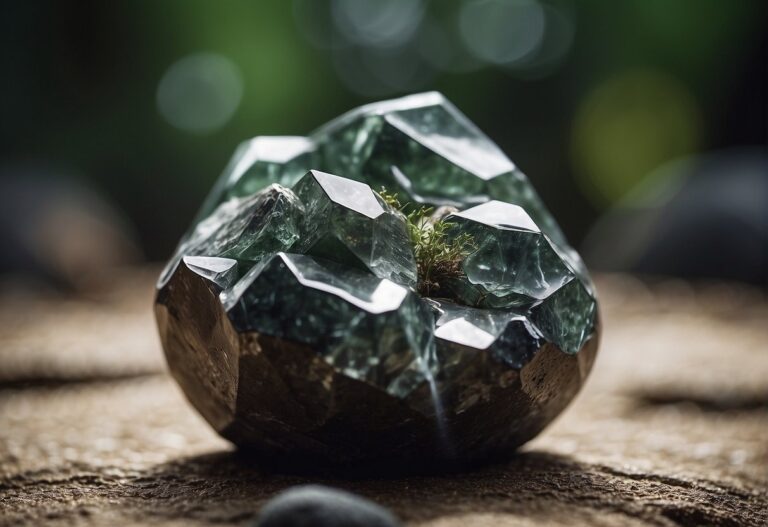
Rock tumbling is a captivating hobby that transforms rough stones into polished gems. When I first started tumbling rocks, I was amazed by the stark transformation that occurs from when a rock first enters the tumbler to when it emerges, glossy and smooth. The process resembles the natural weathering that rocks undergo over many years but is condensed into several weeks using a rock tumbler.
The hobby of rock tumbling provides not only a soothing pastime but also a creative outlet to create beautiful pieces that can be used in jewelry, as decorative items, or simply to be admired as a unique treasure of nature. For beginners eager to embark on this craft, the journey begins with selecting the right rocks, understanding the tumbling equipment, and investing in the proper grit necessary for each stage of the process.
Key Takeaways
- Rock tumbling is a process that turns rough rocks into polished gems.
- Selecting the right rough rocks and proper grit is crucial for successful tumbling.
- A rock tumbler, patience, and attention to detail are essential for this hobby.
Understanding Rock Tumbling
In this section, I’ll take you through the essentials of rock tumbling, from the basics of the process to the equipment used and the selection of suitable rocks. Whether you’re a seasoned enthusiast or new to this fascinating hobby, understanding these elements is key to success.
The Basics of Tumbling
Rock tumbling is a technique that I find remarkably simple, yet profoundly transformative. It involves placing rocks in a tumbler along with abrasive grit and water, then allowing them to turn continuously. This mimics the natural action of water and sand over rocks in a river bed, gradually smoothing and polishing the rocks. There are several stages I need to tackle when tumbling rocks, each requiring different grades of grit and durations. Starting with a coarse grit helps to shape and smooth rough edges, while finer grits in subsequent phases bring out a polish.
Types of Tumblers
I’ve got two primary choices of tumblers to consider: the rotary tumbler and the vibratory tumbler. A rotary tumbler is the more common type which I prefer for its thorough smoothing capabilities. It works by rotating the barrel containing the rocks, grit, and water, causing the contents to fall over each other, leading to a smooth finish over time. On the other hand, a vibratory tumbler moves the rocks in a vibrating container, which I find to be faster than the rotary tumbler, but it’s often used for the later stages of tumbling to polish the rocks rather than shaping them.
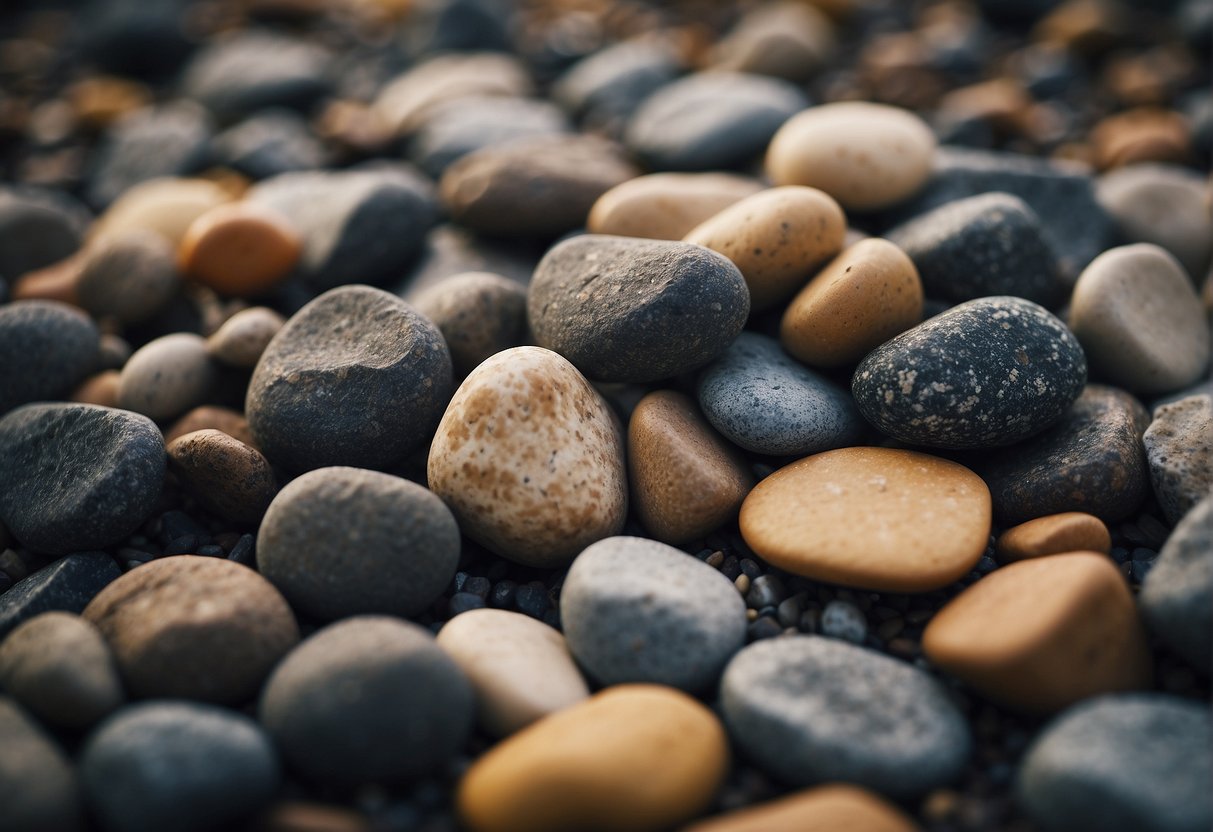
Selecting the Right Rocks
When selecting rocks for tumbling, I look for those that have a Mohs hardness of 7 or higher, like quartz or agate, which are durable and take a nice polish. The hardness is important because during tumbling, soft rocks may wear away too quickly, whereas hard rocks, such as those harder than quartz, may not achieve the desired finish within the same timeframe. Rocks should also be free of cracks and fractures to ensure they don’t break apart during tumbling, which can be disappointing after waiting for the process to complete.
Preparing for Tumbling
Before I start tumbling, I make it a point to properly prepare my rocks and the tumbling media. A good foundation here ensures a smoother and more successful tumbling process.
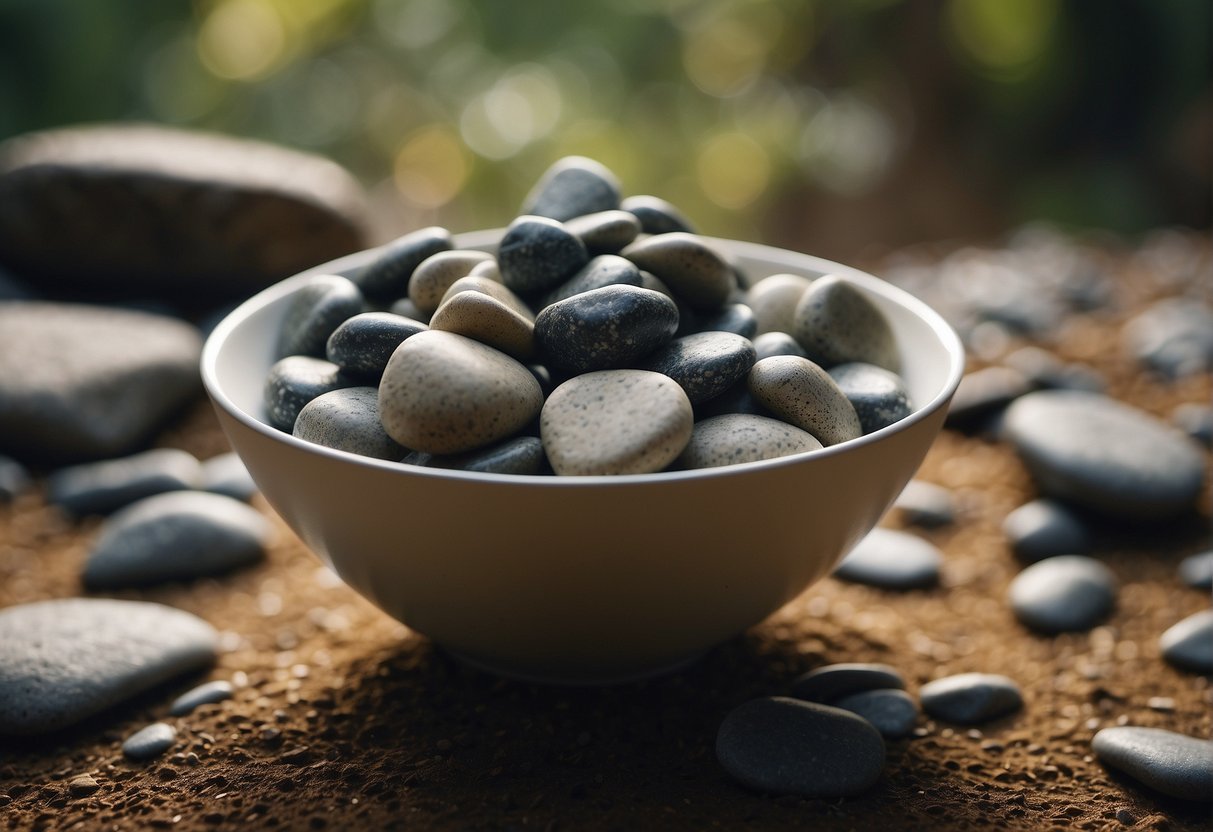
Cleaning and Sorting Rocks
First, I clean the rocks to ensure they are free from dirt and debris that might affect the tumbling process. This means rinsing them thoroughly in a bucket of water. I also sort the rocks by size and shape, as similar sizes allow for more consistent tumbling. Additionally, I look for rocks with a Mohs hardness of 7 or higher, as they’re more durable for tumbling.
Measuring and Mixing Grit and Water
Next, it’s crucial to measure the right amount of grit for the size of my batch, which typically follows the rock tumbler’s instructions. I begin with a coarse grit and mix it with the right amount of water—a generally good rule is to have enough water to just cover the rocks in the tumbler. For the proportions, I ensure that there’s a balance, as too much water can slow the grinding action, whereas insufficient water may not allow the grit and polish to work effectively.
The Tumbling Process
In my experience, rock tumbling transforms ordinary rocks into polished gems through a careful progression of grinding and polishing. Each stage uses different grits that gradually create a smooth and shiny finish over time.
Stages of Grinding and Polishing
Coarse Grit: I always begin with coarse grit to shape my rocks and remove any sharp edges. This stage is crucial for creating the foundation for a smooth finish.
Medium Grit: Once the rough edges are smoothed out, I switch to medium grit. This step further smoothens the rocks and begins to polish their surface.
Fine Grit: The use of fine grit brings the rocks closer to their final polish, as it refines the smoothness achieved from the previous stages.
Polishing Stage: The final touch is the polishing stage, where a fine powder gives the rocks their shine. Here’s where patience pays off, as the rocks reveal their hidden beauty.
Duration and Inspection
The time spent in each stage typically depends on the rock’s hardness and the desired finish. I find that each stage usually takes about one week, but I make sure to inspect the rocks regularly. This includes checking for progress or any fractures that may appear.
Common Challenges and Solutions
Noise: One common challenge is the noise during the tumbling process. I manage that by placing my tumbler in a space where the sound is less noticeable.
Patience: Another challenge is maintaining patience throughout the weeks of tumbling. It’s important to resist the urge to rush the process, as this can compromise the quality of the final result.
By paying attention to these details, I’ve found that rock tumbling, while time-consuming, is a rewarding hobby that yields beautiful results.
Types of Grit and Media
When I start a rock tumbling project, choosing the right type of grit and media is crucial to achieving a beautifully polished result. Let’s explore the various options and their uses, ensuring your rocks come out perfect.
Understanding Grit Grades
Grit is the abrasive material used in rock tumbling to shape and smooth rock surfaces. As I understand it, grit comes in several grades:
- Coarse Grit: This is silicon carbide that is used for the initial shaping and is typically 60-80 grit. It’s powerful enough to knock off sharp edges and round out stones.
- Medium Grit: After coarse grit has done its job, a medium grit, such as 120-220, is used to further smooth the rock’s surface.
- Fine Grit: Usually 500 or higher, fine grit is the last abrasive step before polishing, giving the rocks a smooth touch.
Silicon carbide, as I’ve found, is a popular choice due to its hardness and durability, often outperforming aluminum oxide in the rock tumbling process.
Ceramic, Plastic, and Natural Media
In addition to abrasive grits, I can use different tumbling media to enhance the tumbling process:
- Ceramic Media: These are small, shaped pieces of ceramic that can improve the tumbling action and fill spaces between larger rocks.
- Plastic Pellets: Plastic pellets are lighter than ceramic media and can be used to cushion rocks during the final polishing stages.
- Natural Media: Occasionally, I use crushed walnut shells or corn cob bits for polishing; they’re softer and can offer a natural shine.
When to Change or Reuse Media
Understanding when to change media is critical. Here are my guidelines:
- Coarse Grit: Change this grit after each cycle since it breaks down quickly and loses its abrasive properties.
- Medium/Fine Grits: These can sometimes be reused if they have not broken down too much and the slurry is still effective.
- Polishing Media: Ceramic media and plastic pellets are reusable. I clean and store them for future use, checking for wear or embedding of smaller pieces.
By selecting the correct grit and media and knowing when to change them, I ensure the best possible finish for my tumbled rocks.
Post-Tumbling Steps
After carefully guiding my rocks through the tumbling process, I know that the final steps are just as crucial to achieving that admirable shine. It’s not just about achieving smoothness, but also about preserving the luster and adding that extra gloss that catches the eye.
Cleaning Tumbled Rocks
Once my rocks have completed the final polishing stage, I find it vital to clean them thoroughly. This removes any residual grit or polish. I typically fill a bucket with water, add a bit of dish soap, and gently stir my rocks in this solution. A soft brush can be helpful to get into any crevices to ensure they’re impeccably clean.
Separation and Drying
I move on to separating my rocks. They should be rinsed carefully to wash away any soap. Then, I lay them out on a towel to dry. It’s important to ensure the rocks are completely dry before moving to the next step, as moisture can affect the final results.
Burnishing for Extra Shine
For those who want their rocks to have that extra gleam, burnishing is the key. I use a separate barrel, adding water, a small amount of borax, or sometimes just a dab of dish soap. I let my rocks tumble for a short period. The result is a beautiful, smooth, and shiny surface that really makes the colors pop.
Troubleshooting Common Issues
Rock tumbling can be an immensely rewarding hobby, but it doesn’t come without its challenges. I know firsthand that when your rocks aren’t turning out as expected, it’s crucial to identify the problem and apply a fix. Let me guide you through some common issues and how to tackle them.
Scratches and Imperfections
When I notice scratches or imperfections on my tumbled rocks, my first step is to inspect the batch. Sometimes, a rogue piece of grit or a previously unnoticed fracture in a rock can cause these issues. I ensure that in my next cycle, I remove any potential culprits and consider adding a cushioning material like plastic pellets to the barrel, which helps reduce the impact between the rocks.
Dealing with Soft and Porous Rocks
Soft and porous rocks, such as those with a lower score on the Mohs hardness scale, can be quite tricky. I have found that these rocks require shorter tumbling times and less abrasive grit. Porous materials, like those containing mica, may absorb grit and water, hindering their polish. Sometimes, pre-treating these rocks with a sealant can lead to better results.
Adjustments for Different Rock Hardness
Working with rocks of different hardness often requires a tailored approach. Rocks on the higher end of the Mohs hardness scale typically need more time and grit to achieve a high polish. For hard rock types, I tend to increase the coarse grind time to ensure a smooth surface before moving to finer grits. Conversely, with softer materials, I shorten the coarse grind phase to avoid excessive wear.
Rock Tumbling Tips and Tricks
In my experience, rock tumbling can transform plain rocks into stunning gemstones. But achieving great results isn’t just luck—it’s about technique, maintenance, and a touch of creativity.
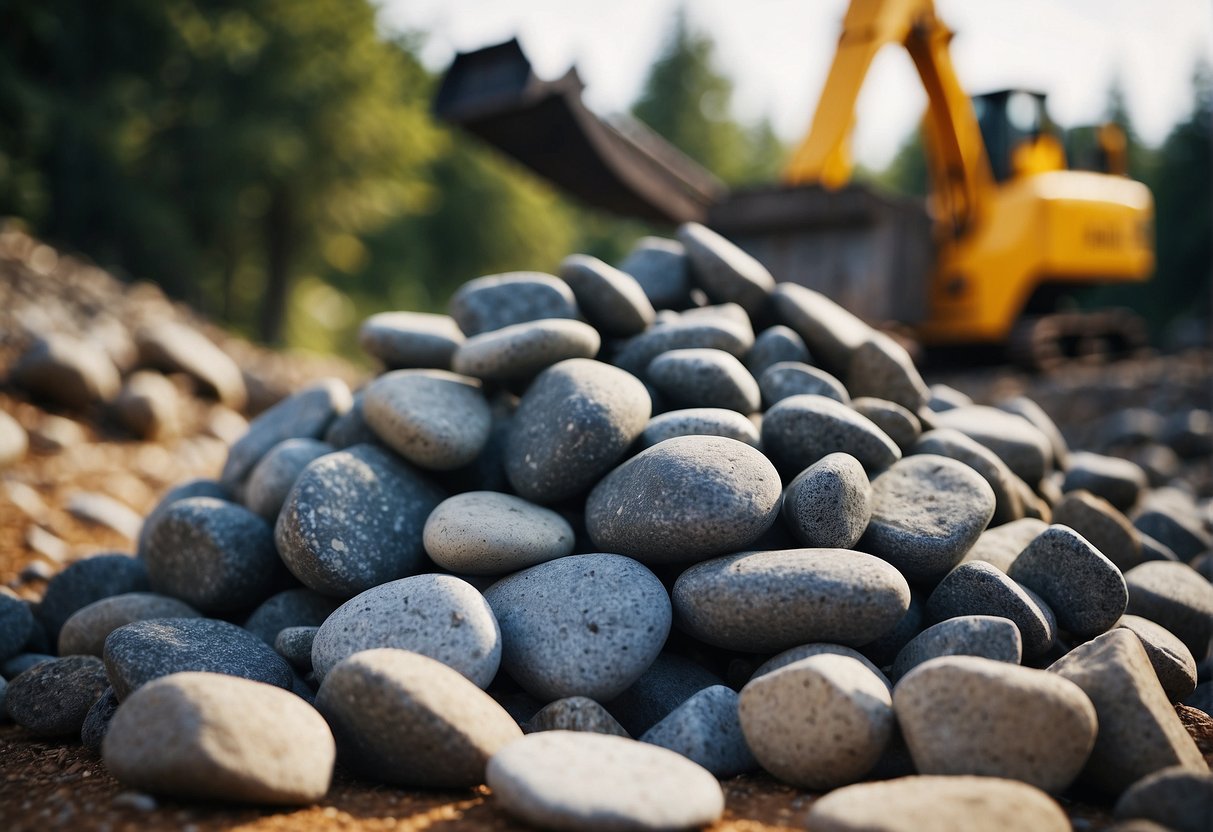
Improving Efficiency in Tumbling
When I’m aiming to increase the efficiency of my tumbling, one of my top tips is to match rock hardness in the same tumbling batch. This prevents softer rocks from being worn down by harder ones. In addition, I’ve learned that using a little powdered dish soap can enhance the grit’s effectiveness. Patience is key here—rushing the tumbling process often leads to subpar results.
- Progress Monitoring: Check the rocks after each step to ensure they’re on track; this saves time in the long run.
- Speed: Adequate tumbling speed is crucial. If the tumbler is too fast, rocks can be damaged. Too slow, and the process takes longer than necessary.
Safety and Maintenance
I always prioritize safety and proper maintenance of my tumbler. A secure tumbler lid is crucial; I’ve found that using a plastic bin around my tumbler prevents potential messes from an unexpected lid pop-off. Regular cleaning and inspection after each use assure that my tumbler remains in good condition for years to come.
- Safety Gear: I wear protective eyewear and gloves when handling rough rocks and chemicals.
- Tumbler Care: Clean the tumbler thoroughly, including the barrel and lid seals, to prevent leaks and extend its lifespan.
Creative Ideas and Crafts with Tumbled Rocks
After tumbling, I’m always excited to start crafting. Tumbled rocks make beautiful pieces for jewelry like pendants and earrings. They also add a unique touch to home décor. For me, taking the time to create something by hand amplifies the joy of tumbling.
- Crafts: From pendants to fridge magnets, the possibilities are endless.
- Jewelry: Illustrated instructions or kits can be especially helpful for beginners looking to craft jewelry.
Rock Tumbling Resources
When I began my journey into rock tumbling, I found a plethora of resources that propelled my hobby forward. From in-depth books and online communities to reliable suppliers, these resources are invaluable for both beginners and experts alike.
Best Books and Guides
I’ve discovered that having a comprehensive guide by my side made all the difference. One of my top picks is “Rock Tumbling 101” from AB Crafty, perfect for beginners who are just getting their hands dirty. It’s like having an expert in your home, walking you through each step. For a more detailed study, Amazon has a variety of books that cover lapidary techniques and advanced tips, which I often reference for improving my craft.
Online Forums and Communities
Connecting with other enthusiasts has been a gem of an experience. I often browse through communities such as Rock Tumbling Hobby Forum where beginners and experts exchange instruction, advice, and success stories. It’s a supportive space where I’ve found tips that are directly applicable to my tumbling projects.
Suppliers for Tumblers and Materials
Finding quality equipment is crucial, and I found that retailers like Home Depot and Lowe’s carry essentials for rock tumbling. However, for specialized lapidary supplies, I turn to trusted online retailers or local stores that provide everything from tumblers to grit and polish materials. Checking out eBay for bundled deals or Amazon for a range of options, including starter kits, has also been beneficial in keeping my hobby budget-friendly.
Frequently Asked Questions
In my years of rock tumbling, I’ve come across a variety of questions from newcomers and professionals alike. Here, I’ve answered the most common FAQs to help everyone achieve greater success in their rock tumbling endeavors.
What’s the difference between professional and entry-level rock tumblers?
I’ve noticed that professional rock tumblers typically have a sturdier build, larger capacity, and more features for precise control, allowing for more consistent and often quicker results. Entry-level tumblers are more affordable but may take longer to achieve the same polish and can have a shorter lifespan.
Which types of rocks are best suited for tumbling?
From my experience, the best rocks for tumbling are those with a Mohs hardness of 7 or above, like quartz, agate, and jasper. These types of rocks are less likely to chip or break during the tumbling process. Rocks suited for tumbling provide consistent, quality results.
How can you identify when rocks are fully polished in a rock tumbler?
I’ve found that rocks are fully polished when they have a glass-like sheen and smoothness to them. At this point, no scratches are visible, and the rock should reflect light uniformly from all angles. It’s a sign they’ve gone through the proper rock tumbling process.
What are some essential supplies I need to start rock tumbling?
I always tell beginners that they’ll need a rock tumbler, various grits for different tumbling stages, polishing compounds, and plastic pellets for cushioning in the tumbler. Essential rock tumbling supplies are critical to getting started with the hobby.
What steps are involved in tumbling rocks from rough to polished?
Tumbling rocks involves a multi-step process beginning with rough grinding, then medium and fine grindings, and finally, polishing and burnishing. Each step requires changing the grit size and can take about a week or more to achieve a polished rock.
How do you achieve a high shine on rocks post-tumbling?
For a high shine after tumbling, I ensure that each preceding step has been thoroughly completed and then use a high-quality polish, such as tin oxide or aluminum oxide. Tumbling the rocks with these compounds in the final stage brings out a brilliant shine on the rocks.